Happy Independence Day weekend to my US readers. Well its been several months where time for railroading has been limited. Top of the list, our nine-year-old beagle developed serious back/neck problems a few months ago that ultimately required surgery.
Little fellow is recovering and doing well with his rehabilitation program–exercises given to us by the specialty vet. Things like stairs are going to be a problem for him for a while, so he won’t be joining me in the layout room, as he usually does, in the near future.
Even so, I have some L&NC construction news along with updates on on-going projects.
ACS712 – How Low is Low Current
I’ve been exploring the limits of low current sensing with ACS712 sensors. Sparkfun markets a sensor board combining an ACS712 with an OP Amp that they characterize as a low current sensor. I had no luck calibrating and using that sensor; if someone reading this has used it successfully, please leave a comment explaining how you calibrate and use it. Additional experiments with Op Amps, including creating a fairly stable instrumentation amplifier, have not been encouraging though I haven’t entirely given up and have a few possible circuit designs yet to try.
The fundamental constraint with ACS712 sensors is that their output noise inhibits current sensing below 20 mA (officially, Allegro says that you can’t detect below 20 mA without a specially designed version of the chip; which they will happily work on for a paying customer). At higher currents, the sensor works pretty much as advertised and can be used with or without filtering. At and below 20 mA it is difficult to tell the signal from the noise without some sort of mathematical filter; the RMS method I use can detect down to around 15 mA with an UNO’s 10 bit ADC. With a Mayhew Labs 14 bit ADC, I seem to get a little more sensitivity, around 12 mA, using the RMS algorithm.
Below 12 mA noise takes over, at least so far as short term measurements go. So I’ve been looking at data collected over longer time periods and have a preliminary method that can discern a low current signal down to around 8 mA. In essence, a low current change causes the long term output noise range to shift up or down depending on whether the current is increasing or decreasing. Capturing this range shift should improve practical detection sensitivity considerably. Its promising, but I still have kinks to work out of the system.
Is 1 mA sensitivity—the holy grail for detecting a single 10k resistor wheelset—possible with an off-the-shelf ACS712 sensor? Probably not, and that may matter to people who want to use off-the-shelf 10k resistor wheelsets.
That does not make these inexpensive sensors useless. If you don’t mind making your own resistor wheelsets, then a single 1.5k resistor (assuming one resistor wheelset per car; two wheelsets at 3k—in parallel producing a net 1.5k resistance—one at each end of the car, would be a better idea for a bunch of reasons) will be detectable while still drawing under 1/10 watt (at 11.5 volts DCC n-scale standard; higher voltages allow for more resistance). 100 wheelsets would draw less than one Amp total current. More on that when I get the system operational.
Nevertheless, I’m curious whether a 16 bit ADC will help further resolve the low current signal. I’ll be giving that a try this summer so we will see.
Construction Progress
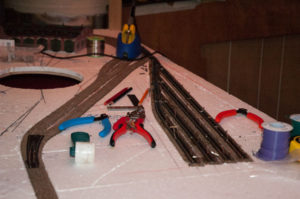
I finished drawing in the track plan, including some additional yard space, on the lower level modules and started in on laying roadbed and track.
Roughing in the turntable was fairly straight forward. After preliminary rough siting, I installed the roundhouse base and drew in the track center-lines. That located the turntable center (the intersection of the track center lines), enabling me to cut out an appropriately sized circle to accommodate a pit I’ve already created using a plywood base and styrene strips.
The turntable project is a major layout item in its own right and will be the subject of multiple future posts.
It took a few sessions, but I laid all the lower level track except for the turntable/roundhouse area (which I will do when I install the turntable) and joined it with the helix.
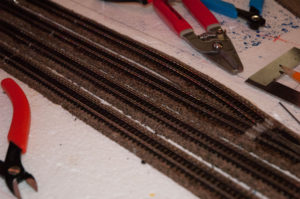
For those interested in the nitty-gritty of track laying techniques, I used adhesives rather than mechanical fasteners for all roadbed and track. I use Liquid Nails for projects (water based) to adhere foam to wood, and anything else to foam. For the track I used DAP ALEX clear latex silicone caulk, deploying T-pins to hold the track in position while the caulk cures (just a few hours). What I like most about this method is that once cured the adhesive is completely invisible creating a nice base upon which to detail the track. Now that I’ve used clear caulk for track laying, I can’t imagine using a grey (and definitely not white) product unless the color closely matches the intended ballast color.
I don’t know if you can tell from the photograph of the whole lower level above, but the lighting system using Addressable LEDS that I’ve devised is working rather well (granted the wiring needs tidying up; I’ll get to that eventually).


